How to Set Up OIDC SSO for Axis OS via Entra ID
13 Jan 2026How to set up single sign-on (SSO) for Axis OS cameras is documented on the Axis website here. However, I found the details on setting up role mapping lacking. This guide aims to clarify the process. There are multiple ways to map the 3 Axis OS roles (admin, operator, viewer). I’ll show how to set up mapping from an Entra application’s custom roles and briefly discuss alternative mapping to Entra groups at the end.
Set up SSO by mapping Axis roles to Entra Application’s custom roles
Entra configuration
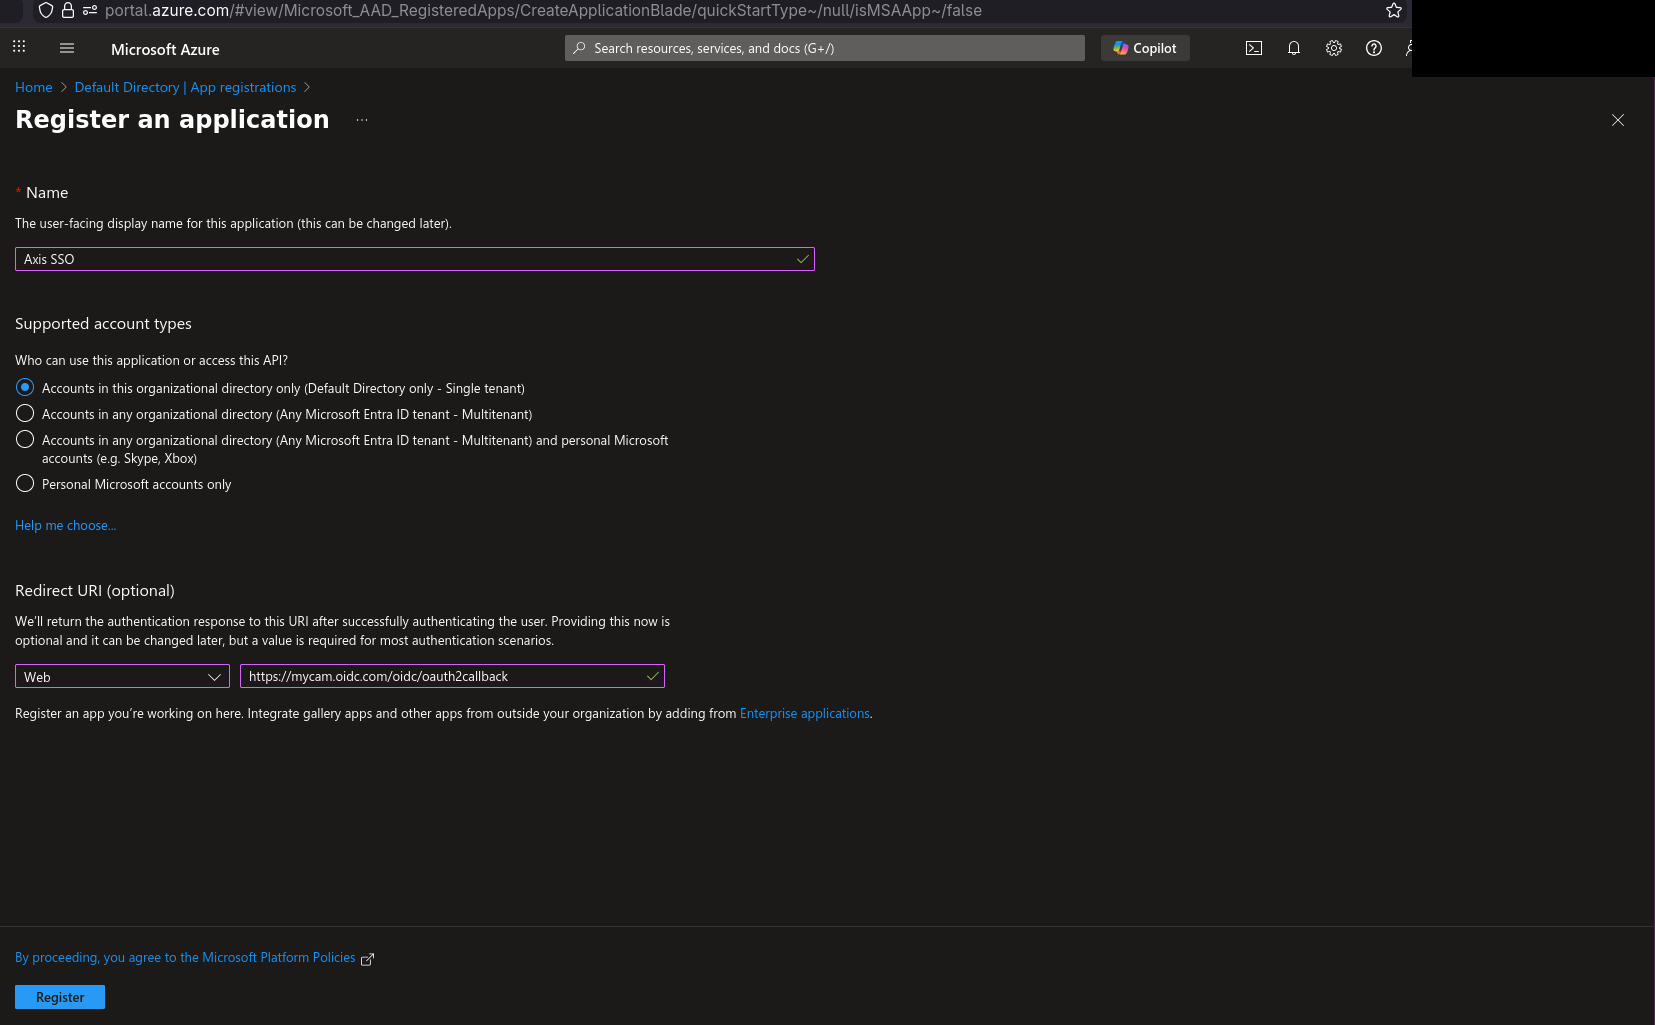
1) We create Entra application. You can do this at https://portal.azure.com or https://entra.microsoft.com. Fill in name as you like and choose account types as you wish. For the Redirect URI it’s critical that it points to hostname of virtual host where your Axis OS camera will use this SSO and uses the proper URL path. Generic format is https://<your host>/oidc/oauth2callback.
2) Next, create app roles. After application is created go to its details (if it disappears go find it in “App registrations”). In the left pane there’s “App role” option, select that and on the “App roles” screen hit the “Create app role” button. That should look like screenshot below. Naming of the role doesn’t matter, select member types to your liking and value of the role. It doesn’t have to be value that’s used below but should be something sane as that’s what will be needed later.

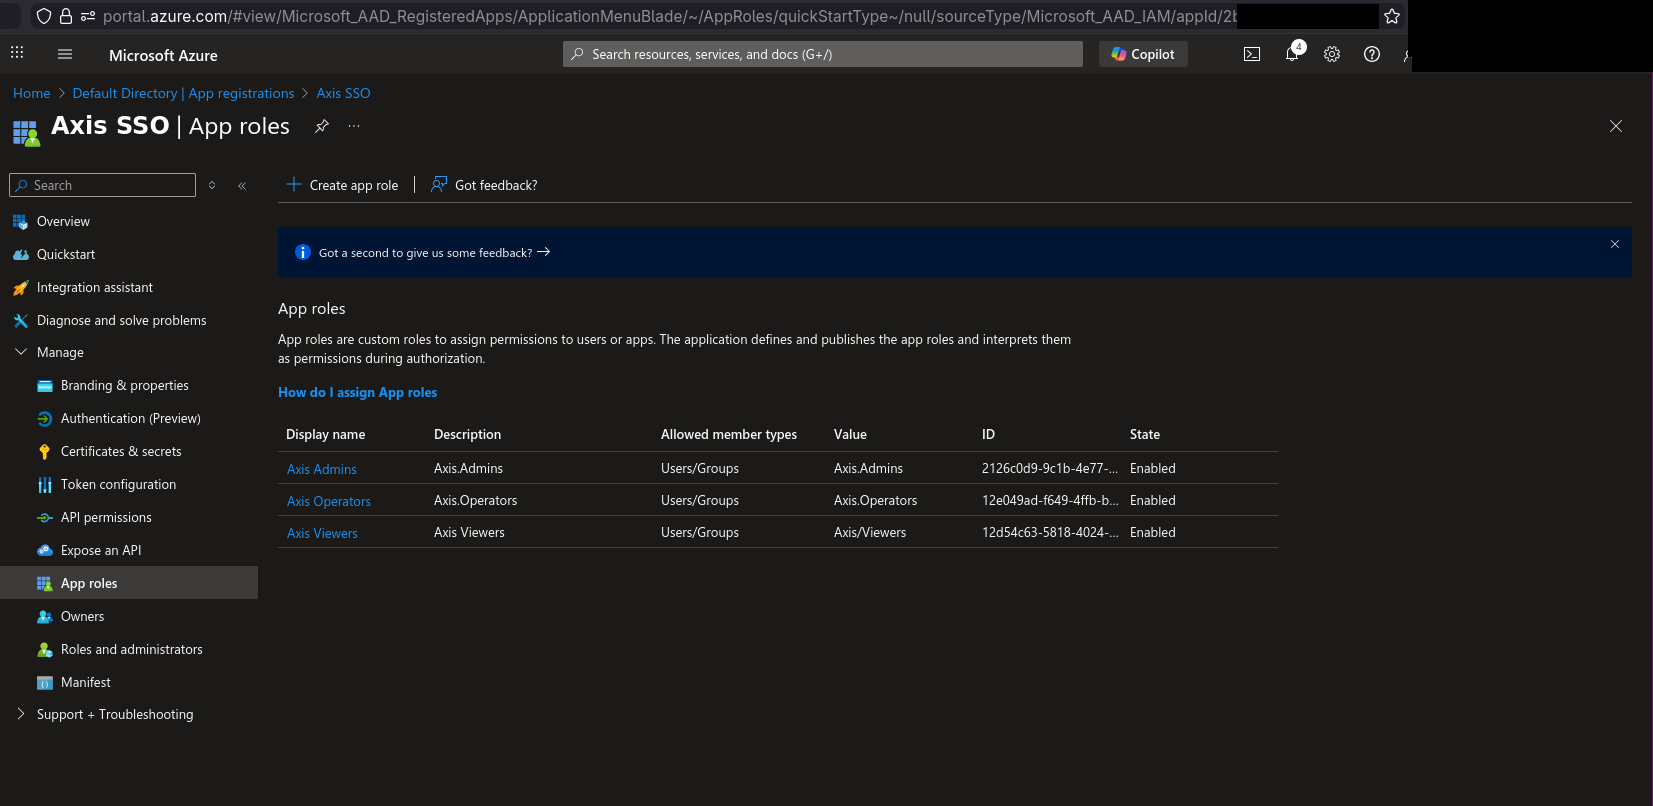
3) Create custom roles for all 3 Axis OS roles admins, operators, viewers so then your screen looks similar to the following screenshot. Note down the values somewhere, you’ll need those later.
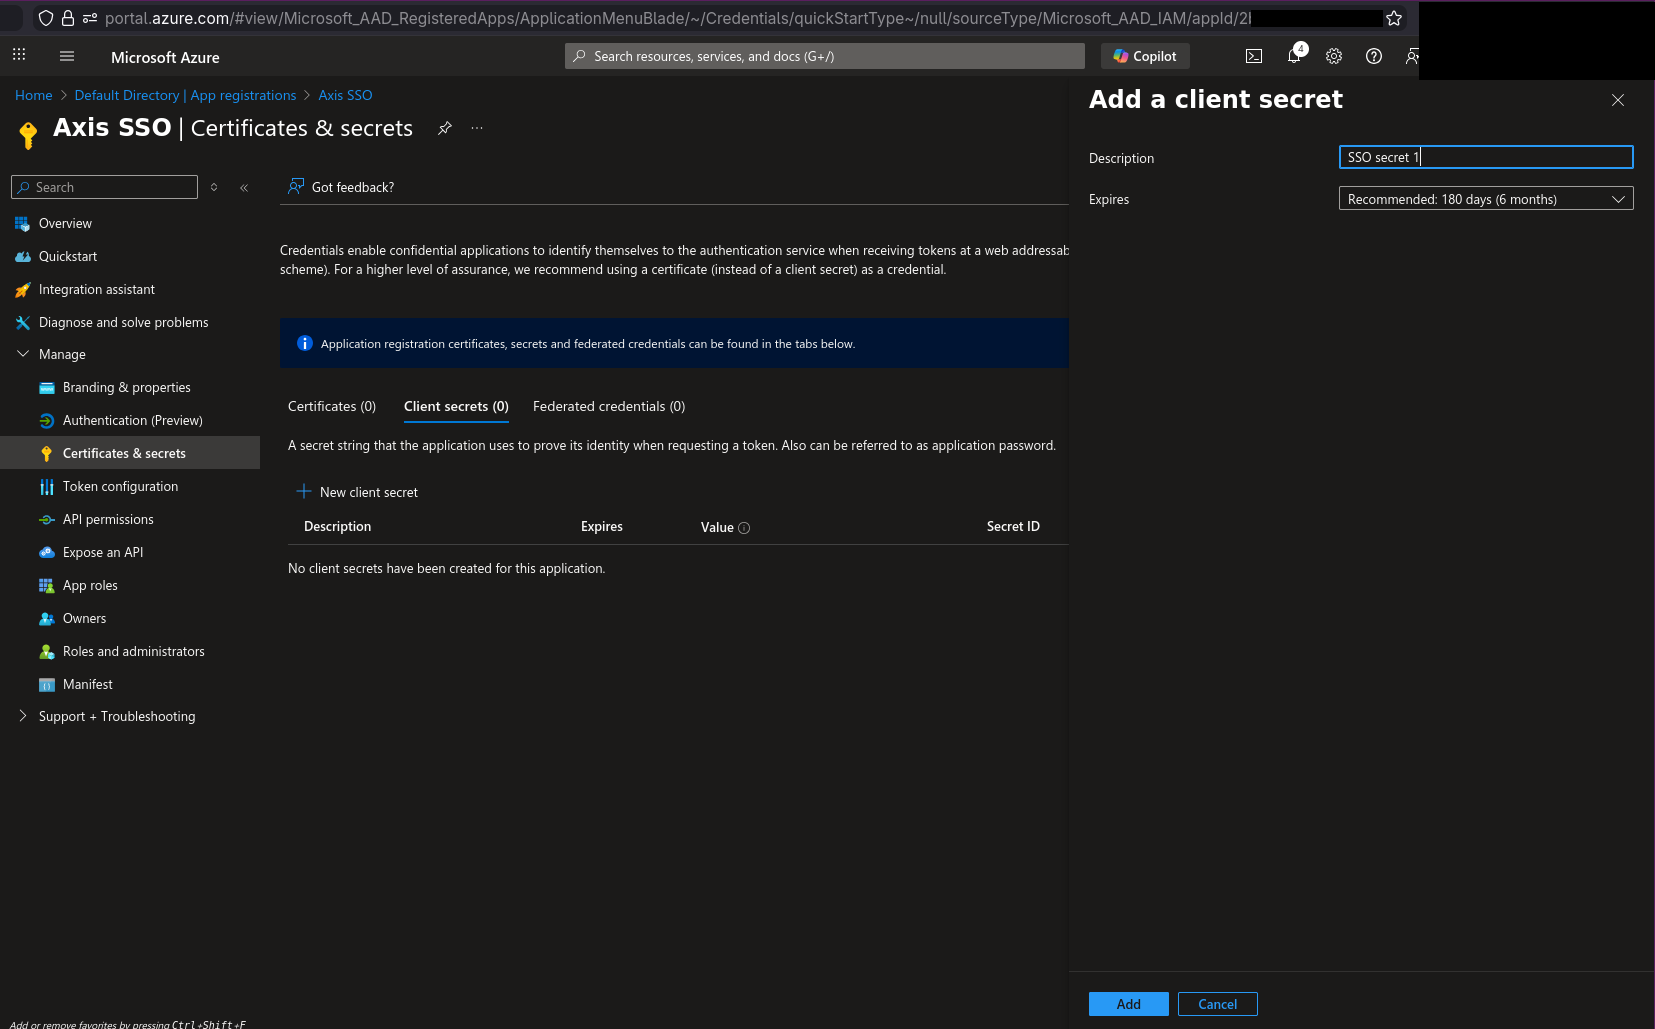
4) In the left menu, select “Certificates & secrets”, then “Client secrets” and “New client secret”. A screen like below should show up. Generate your secret and note its value somewhere safe.
5) We’ve forgot to collect Entra Application ID so we go back and in the left pane select “Overview”. Copy “Application (client) ID” value somewhere for later.
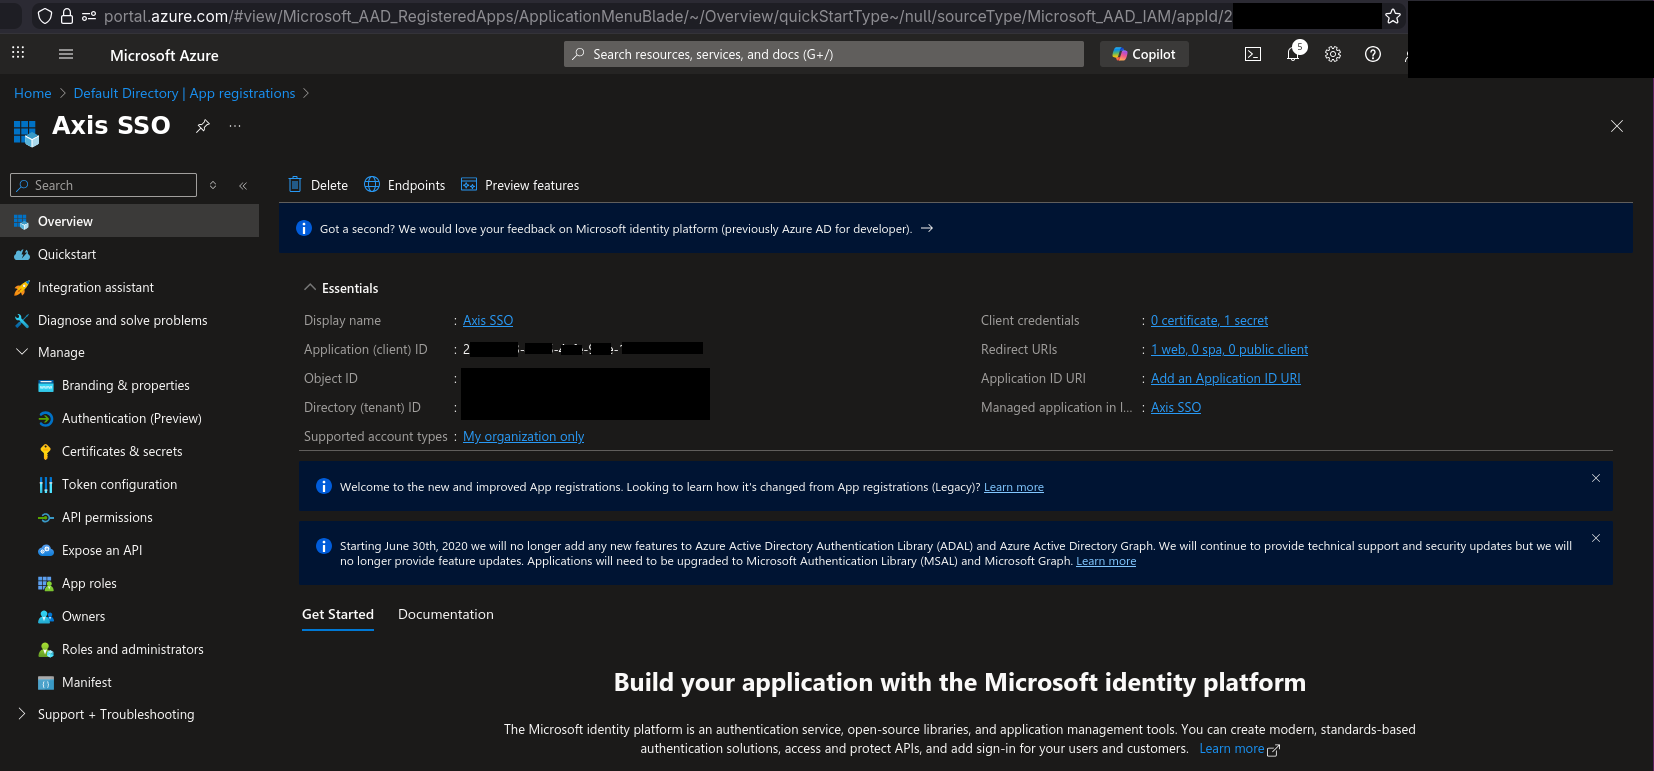
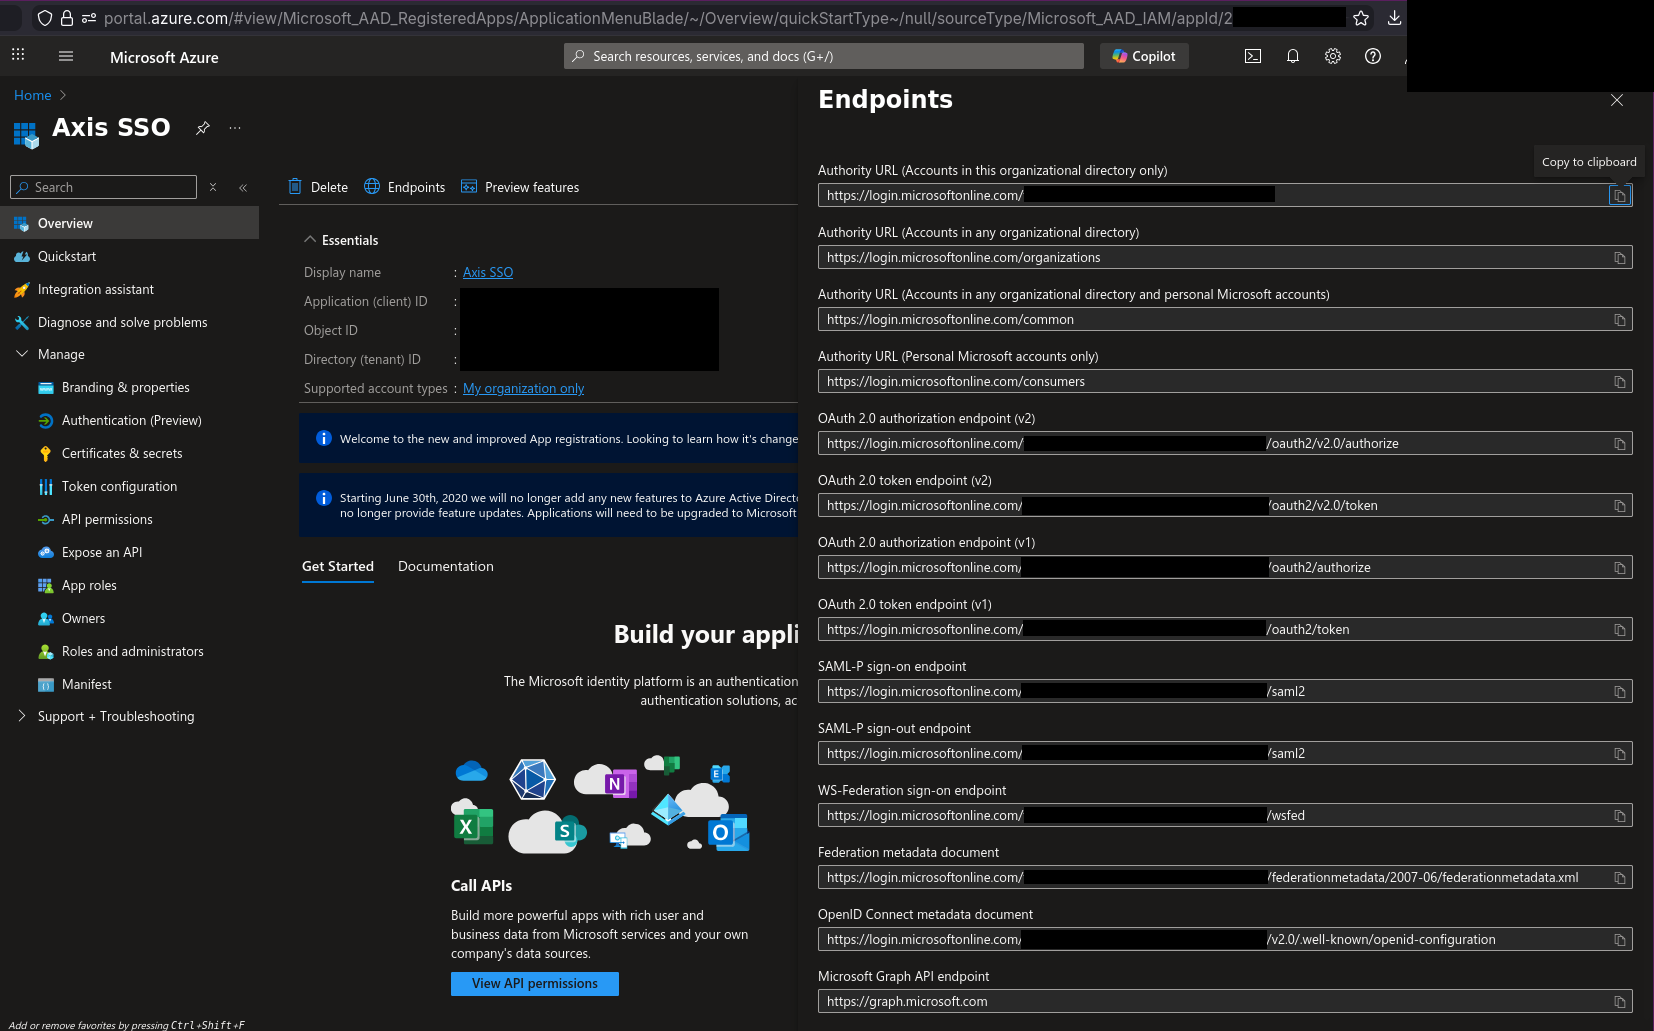
6) On the same page we have “Endpoints” button. Click that and screen like below shows up. Copy out value of “OpenID Connect metadata document”.
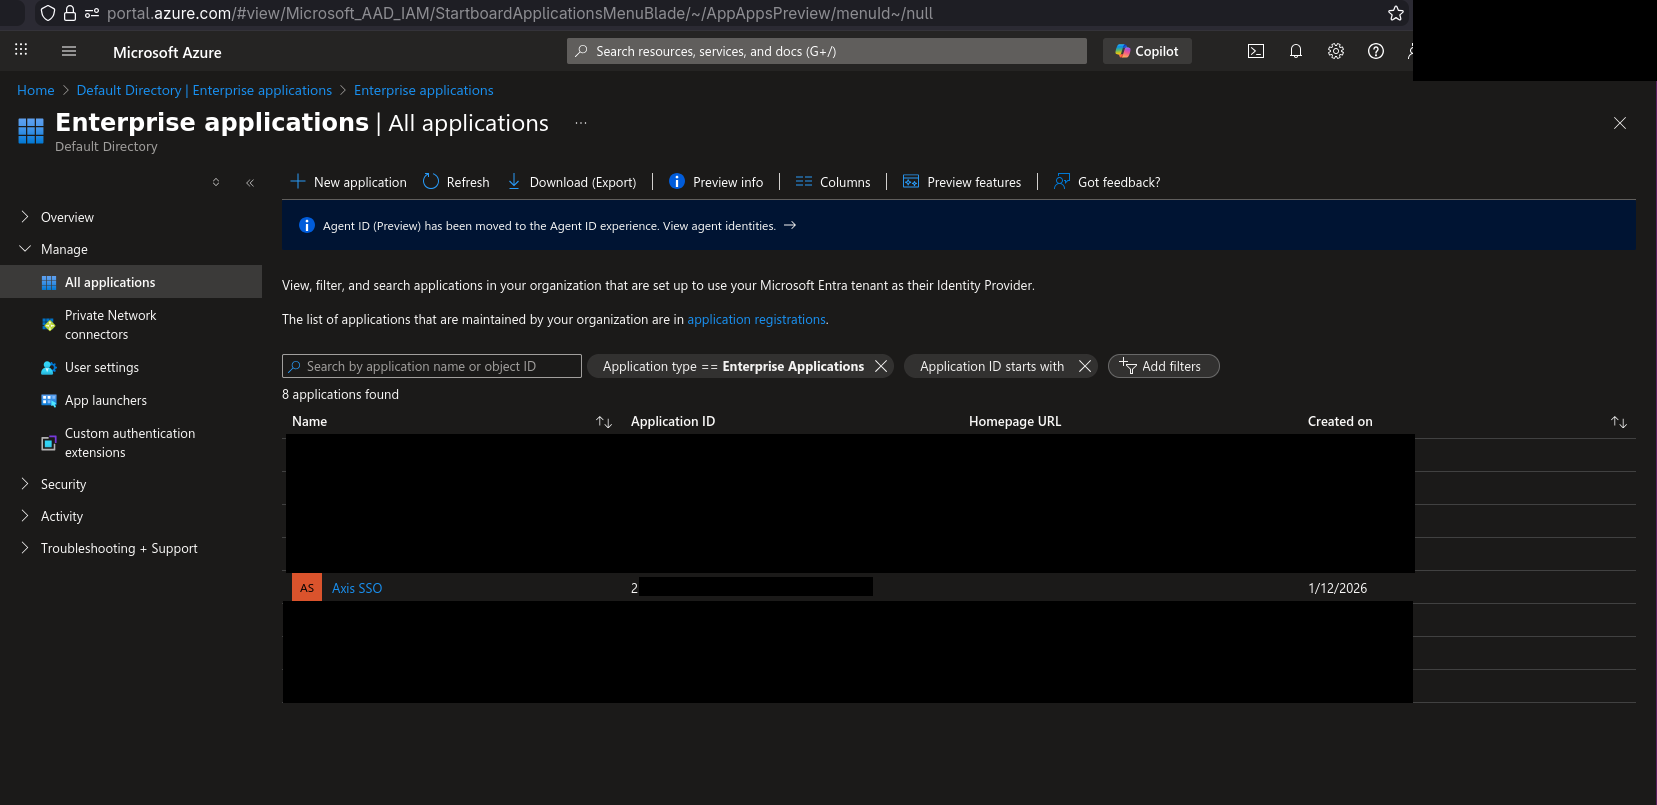
7) What’s left is to map some users/groups to your Entra roles. Let’s go to Entra’s “Enterprise applications” page.
8) In the left menu, go to “Users and groups”.
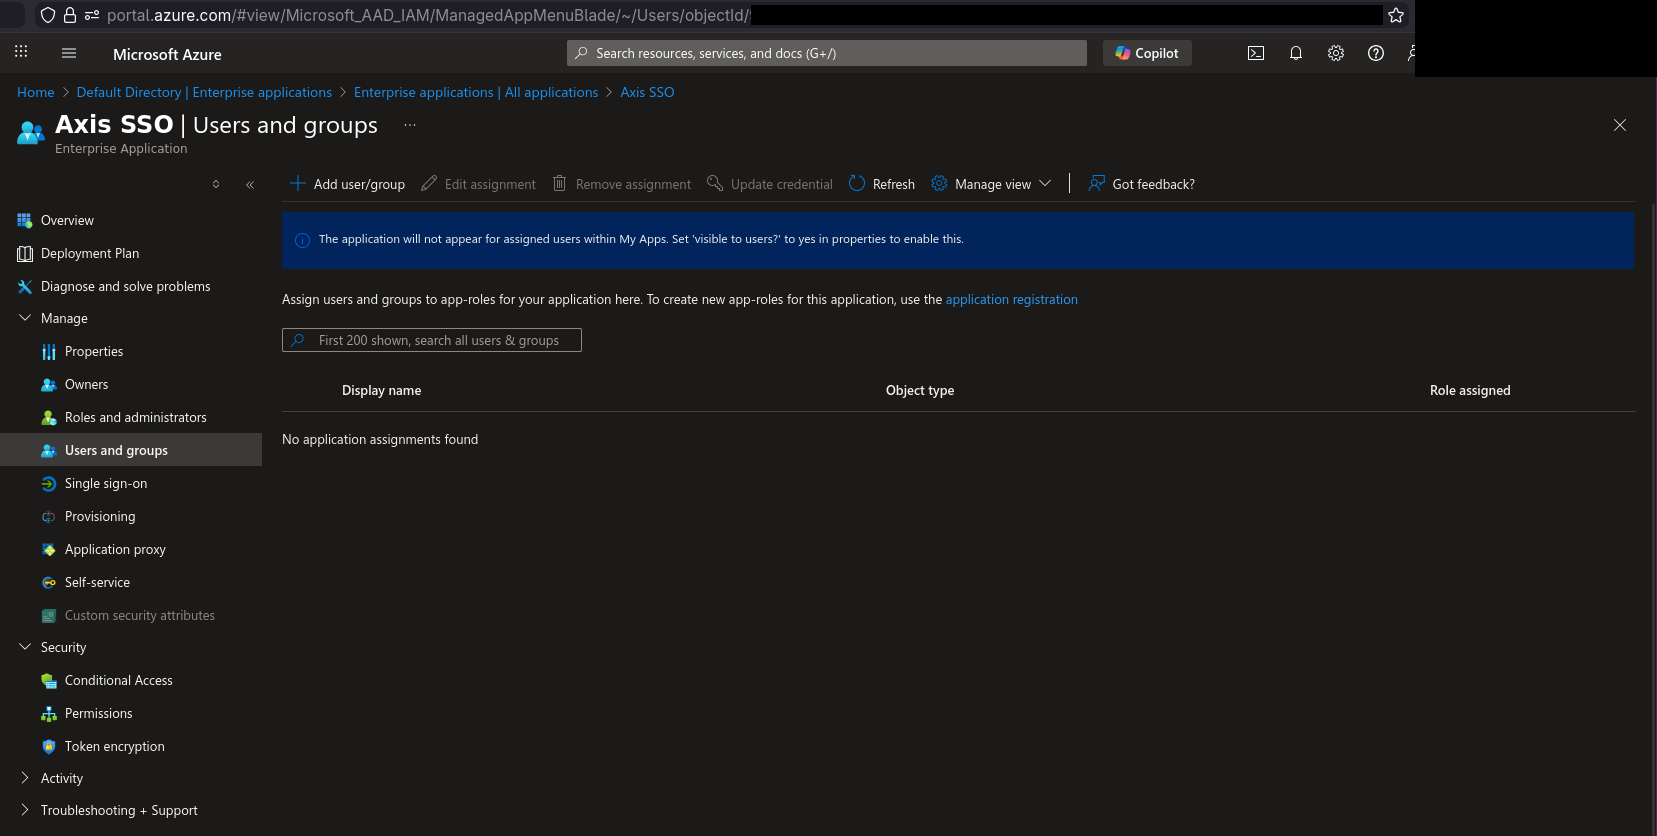
9) Click “Add user/group”. You will either see nice error message like me saying you can only add users or if you have better Entra license, you can also select Groups. I’ll only show how to add Users here.
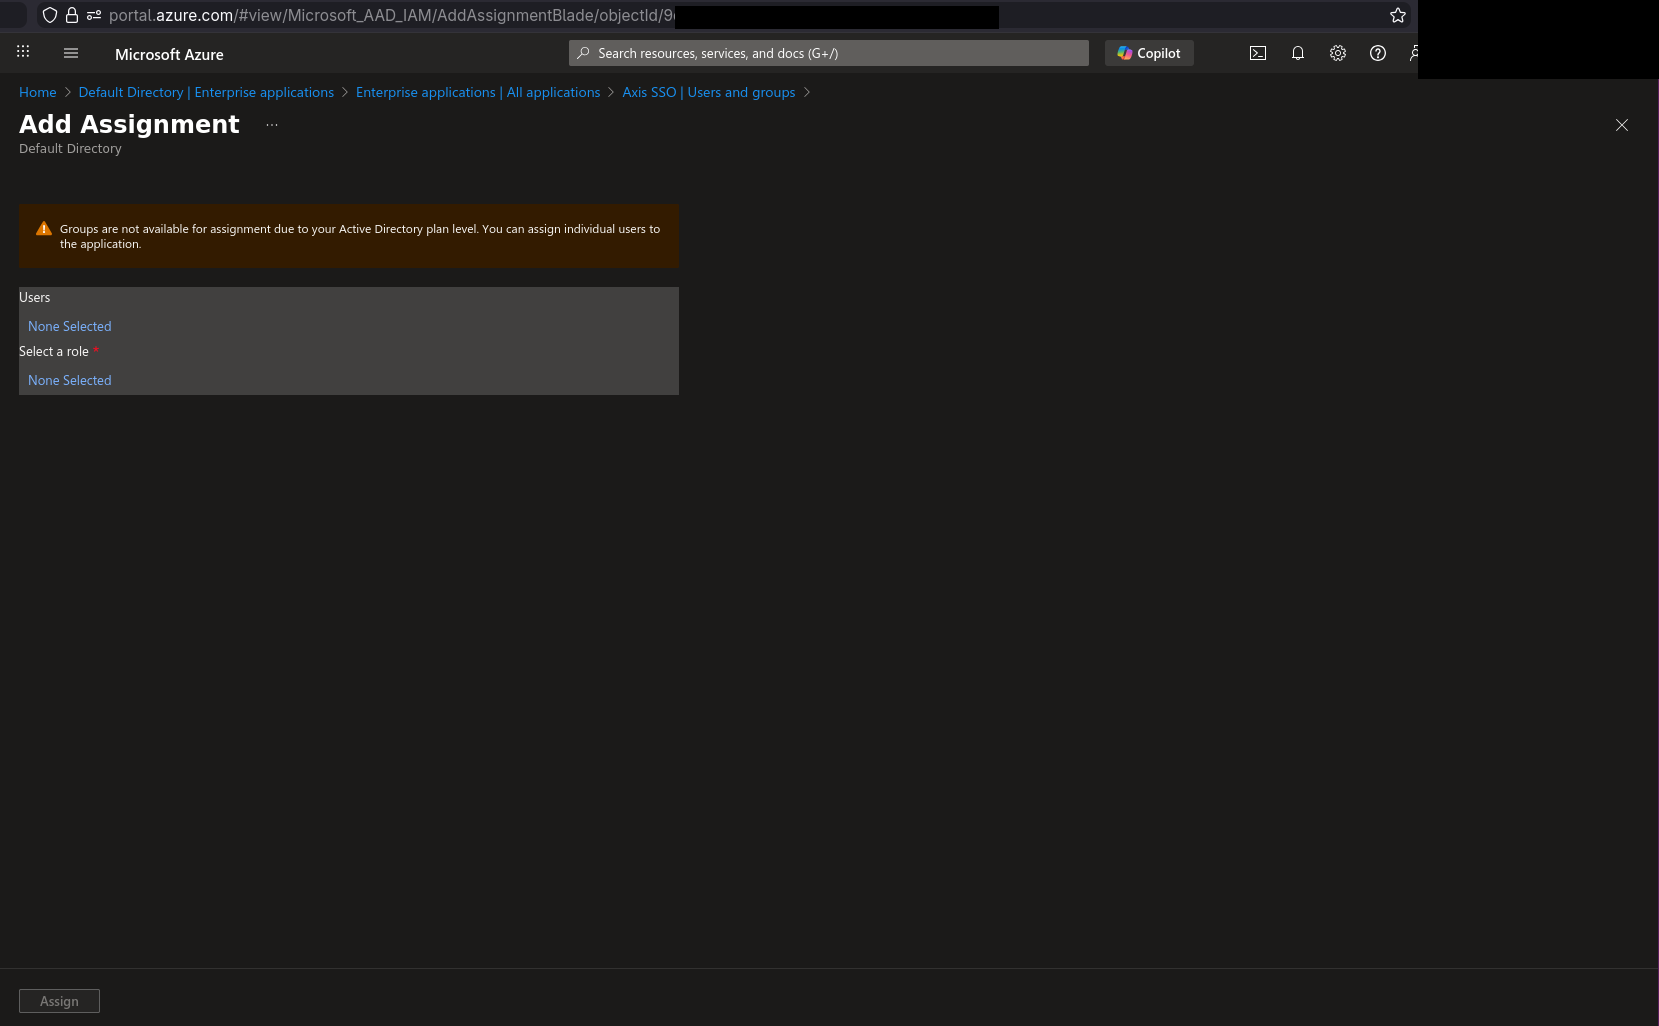
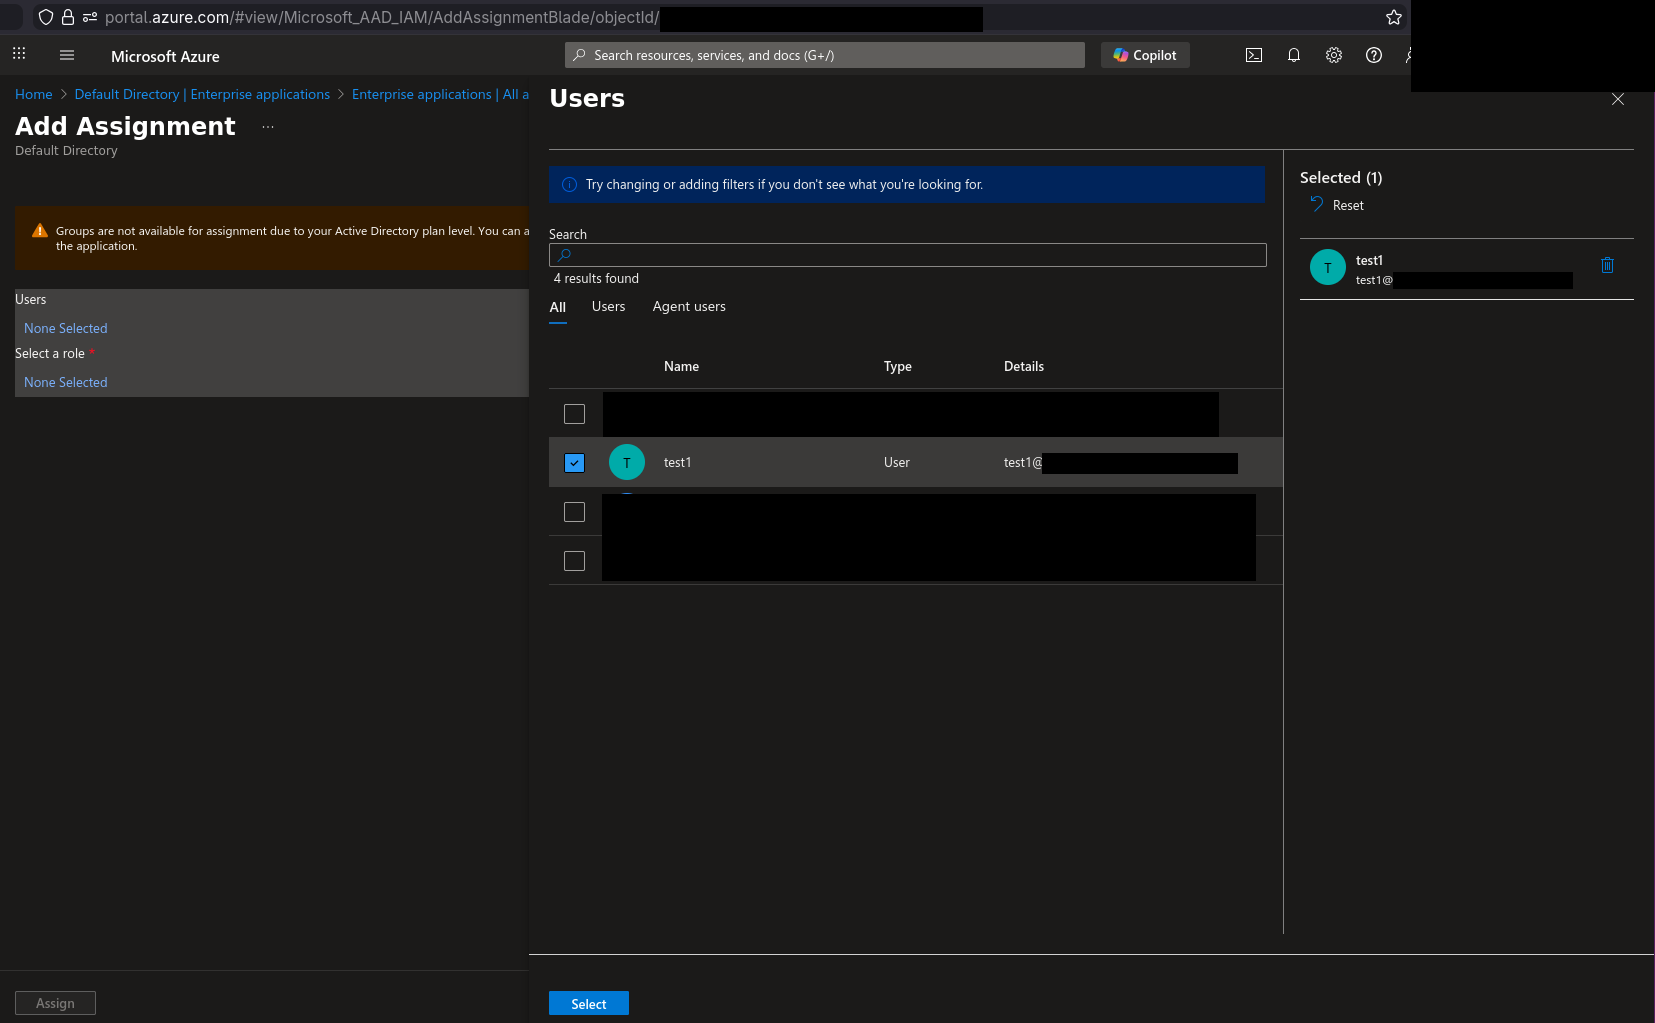
10) Select the “None Selected” text under “Users” and this screen shows. There you can select your users, I’ll use this assignment for admin role so I’ll add users I want to be Axis OS admins and confirm with “Select”
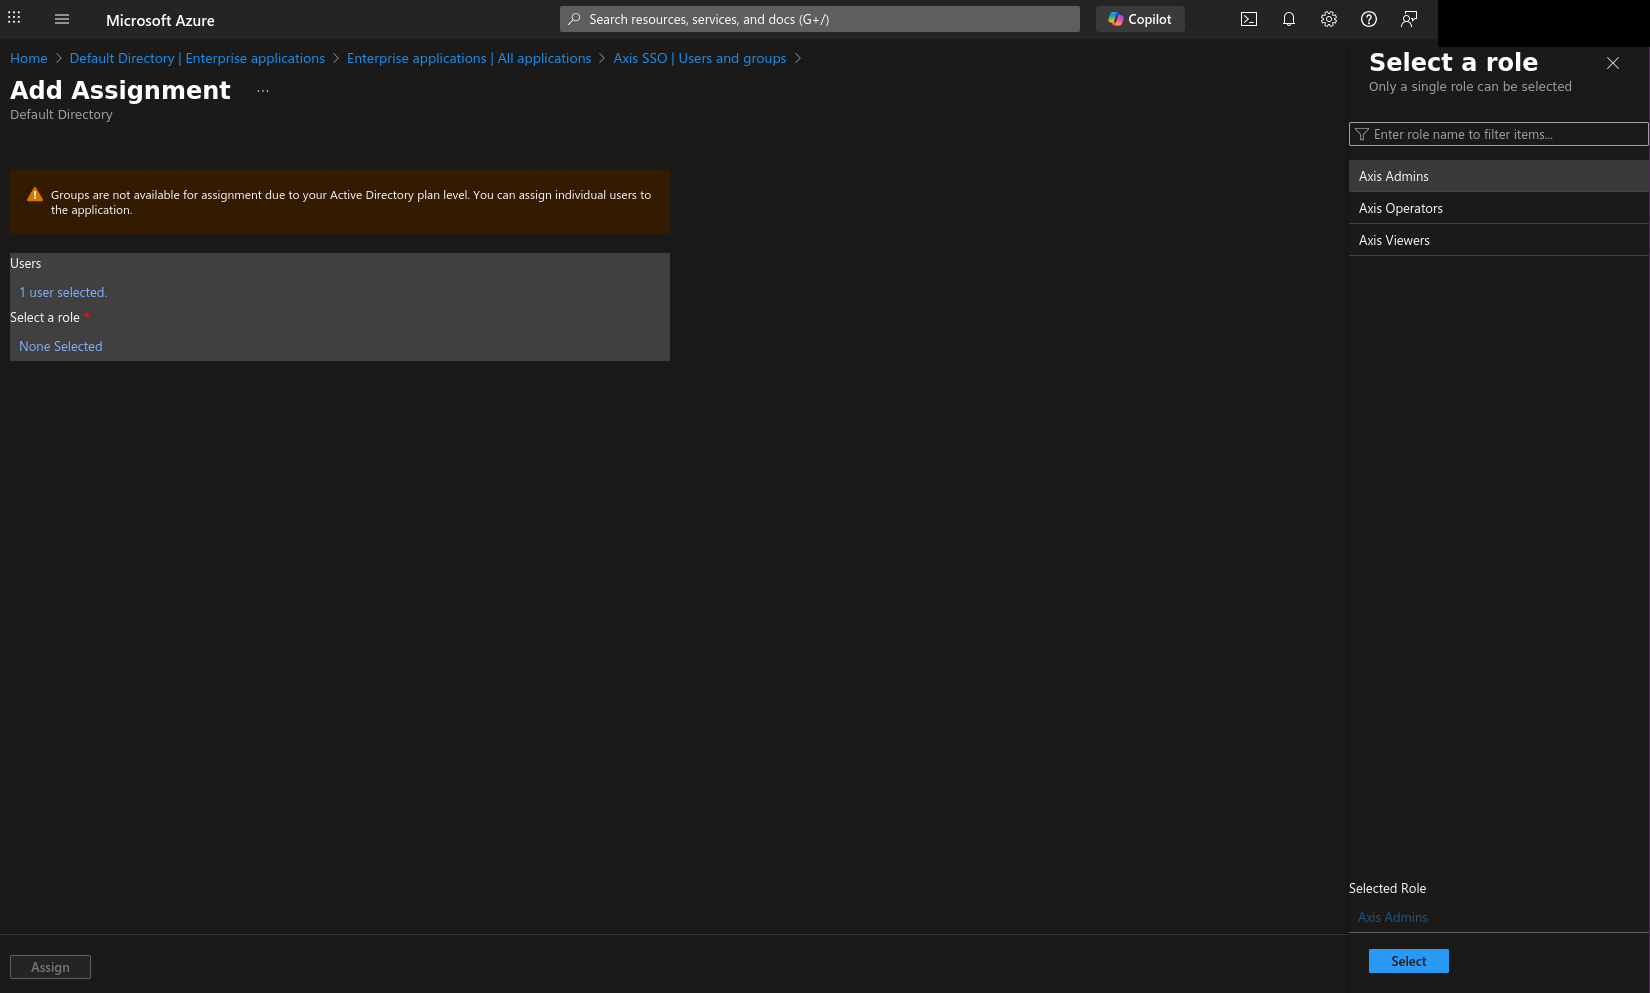
11) Then select the “None Selected” text under “Select a role” and the previously defined roles should show up. I’ll choose the admins role and proceed with “Select” button.
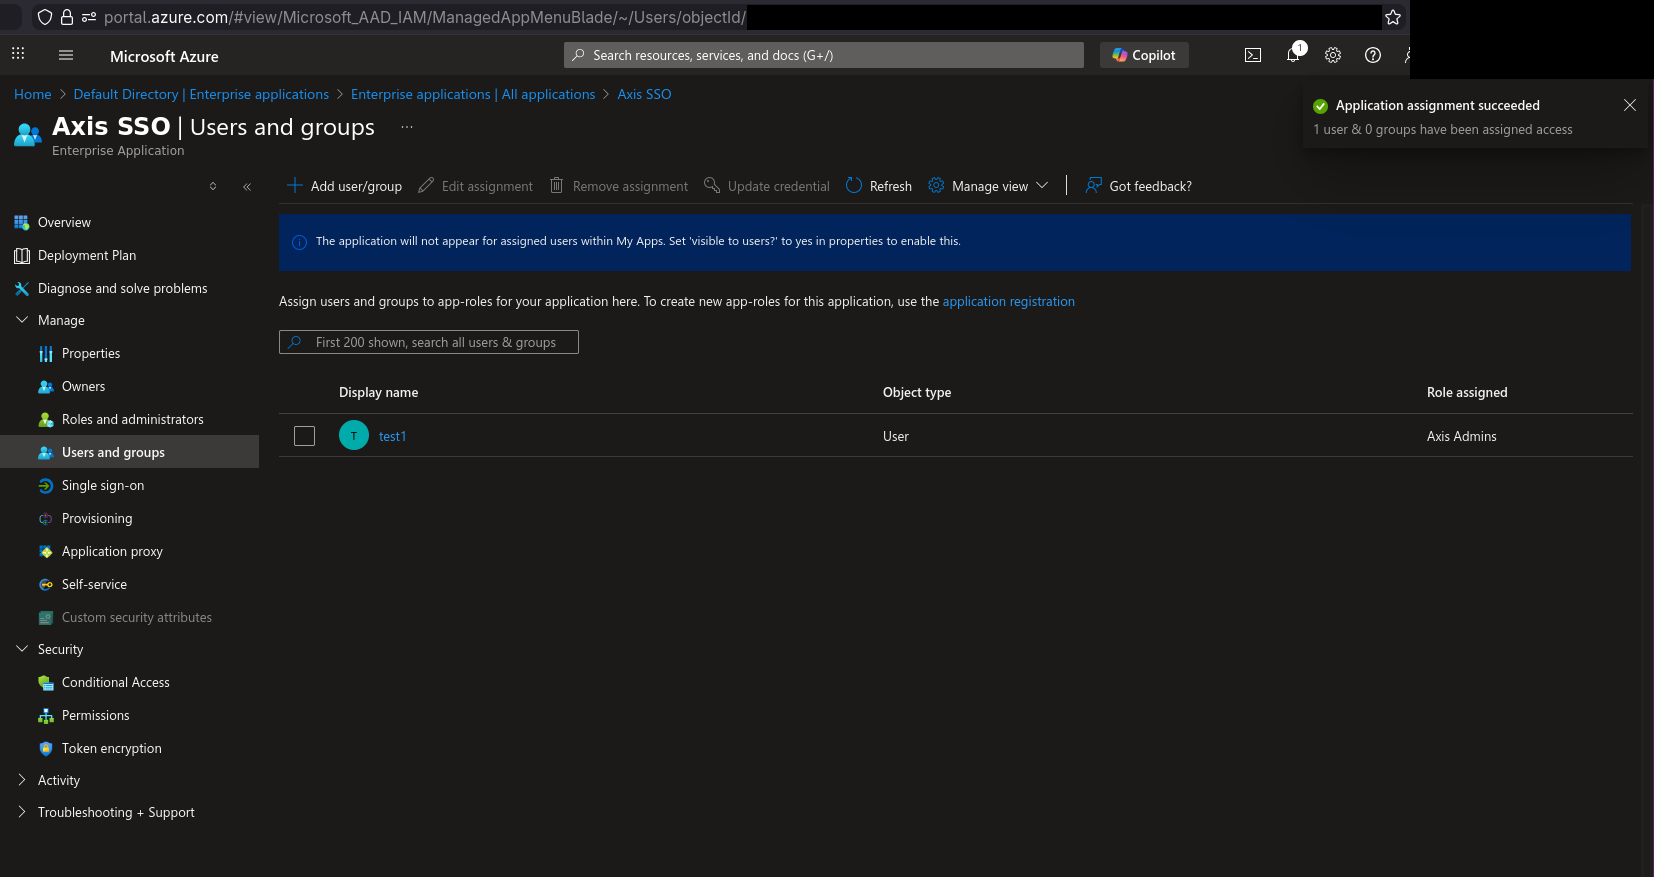
12) After clicking “Assign” button in the screen above, mapping users to role is done. Continue mapping for remaining roles. What remains is the Axis OS configuration.
Axis OS configuration
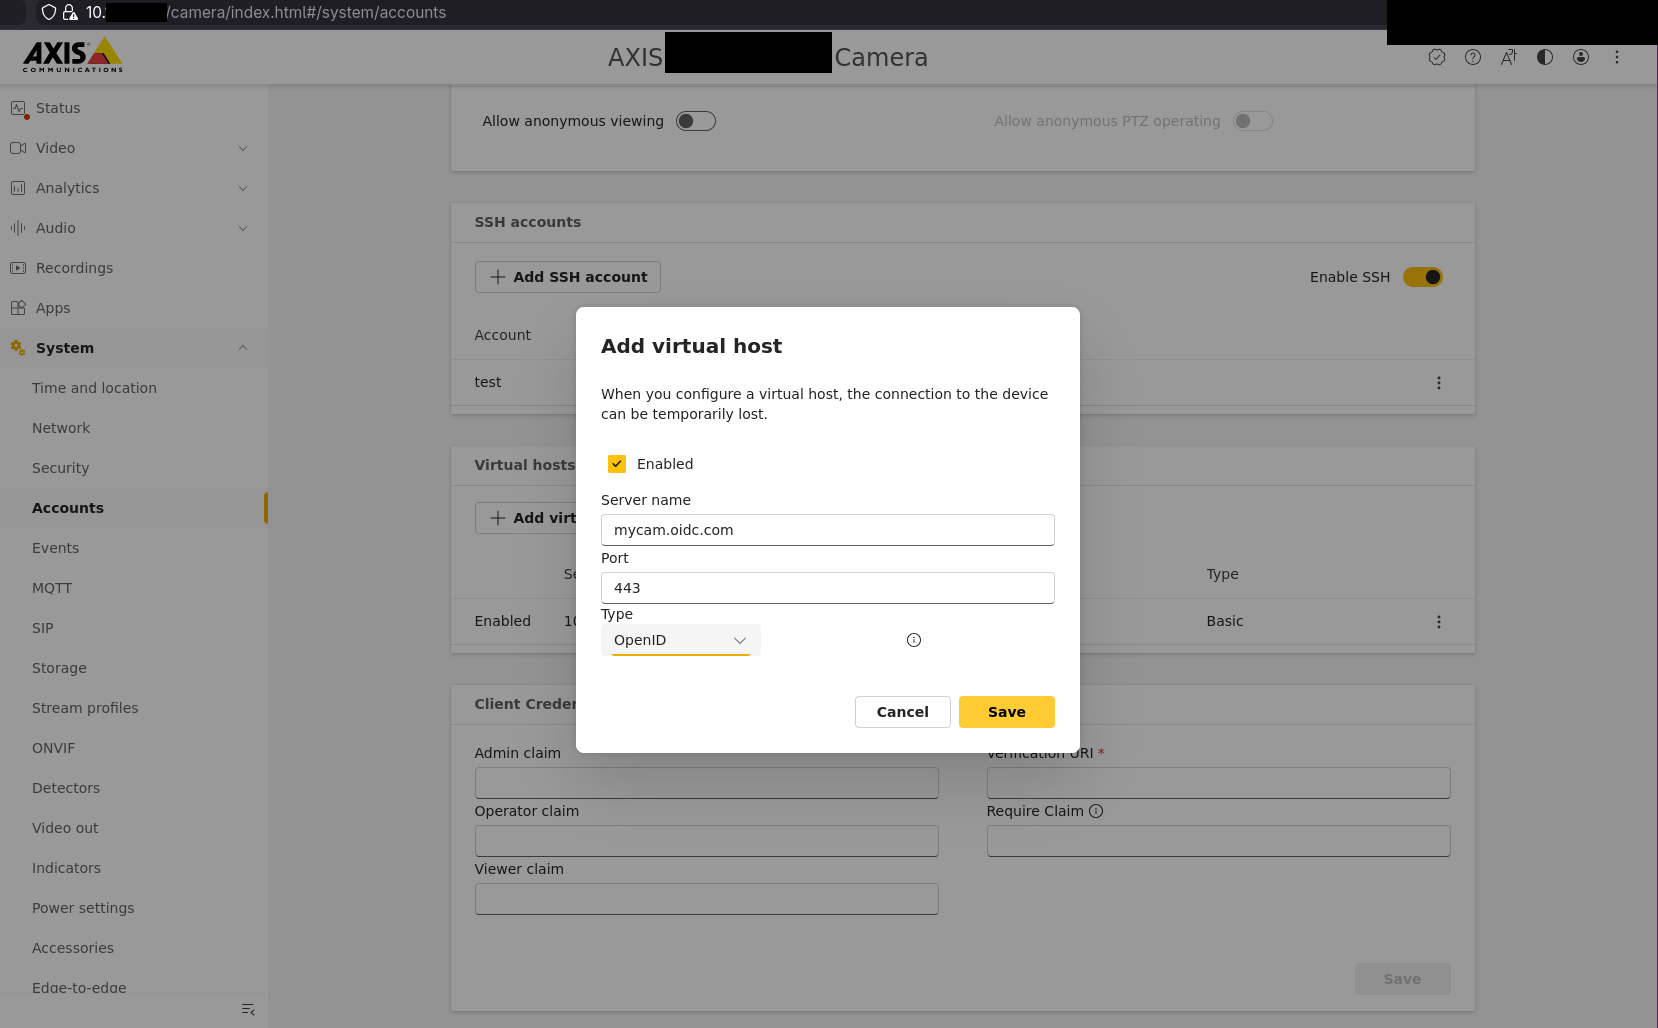
1) First, we need to set up virtual host that will require OIDC authentication. Login to your camera as admin and go to /camera/index.html#/system/accounts or click “System” -> “Accounts” in the menu. Scroll down to “Virtual hosts” section and click “Add virtual host”. There you should configure hostname mapped to your camera’s IP where you’ll want the SSO to trigger and port where the web interface will listen. For type select OpenID and hit “Save”.
2) Fill in values under OpenID Configuration on the same page like this:
- Client ID: Step 5 of Entra configuration.
- Admin claim:
roles:<value>where value comes from step 3 of Entra configuration for admin role, e.g.roles:Axis.Admins. - Operator claim:
roles:<value>where value comes from step 3 of Entra configuration for operator role, e.g.roles:Axis.Operators. - Viewer claim:
roles:<value>where value comes from step 3 of Entra configuration for viewer role, e.g.roles:Axis.Viewers. - Scopes: Should be optional but doesn’t allow to submit without a value (for me at least). You can use
openidvalue here. - Outgoing proxy: Optional proxy URL in case your camera is not directly connected to internet.
- Provider URL: Step 6 of Entra configuration.
- Require claim: This is your sanity check that all tokens retrieved by Axis OS must pass. Format
<claim name>:<value>, two default claims that make sense aretid:<Entra tenant ID>,iss:https://login.microsoftonline.com/<Entra tenant ID>/v2.0. Entra allows you configuring optional claims in “Application registration” if you need more. - Remote user: This is how the user will see their name after login to Axis OS. Some values to choose from are
"name"(display name of Entra user),email(user’s email),preferred_username,sub. - Client secret: Step 4 of Entra configuration

3) If you’ve verified your setup works properly, you may want to remove all other virtual hosts using less secure authentication methods.
Set up SSO by mapping Axis roles to Entra Groups
If you prefer, you can create 3 distinct groups in Entra and map those to Axis roles. You will then have to copy the group ID of each group and add those to the OpenID Configuration in Axis OS in the following manner:
- Admin claim value:
groups:<ID of admin group in Entra>, example:groups:4396dbf0-e50d-47fc-810e-ebd334d992c4 - Operator claim value:
groups:<ID of operator group in Entra>, example:groups:a4238f53-b0bf-4f38-bde0-6e04a6c562c1 - Viewer claim value:
groups:<ID of viewers group in Entra>, example:groups:d29b1c38-13d7-4255-9dd7-cbc45ef971f0
Application’s custom role mapping vs Group membership mapping
If you’re admin of large enterprise, your users may have membership in so many groups that they just won’t fit into JWT. In that case when SSO flow finishes, Axis OS may not receive JWT with groups you mapped to Axis OS roles and authorization may fail. In contrast, custom roles should always be present in JWT obtained by Axis OS after SSO.
If you do setup for smaller business, then groups may be preferred as that may be quicker to configure.
If I’m wrong about anything or just want to discuss, I’m here: Bluesky & X